What do professionals use to seal a driveway? It’s a mix of surface-specific chemistry, expert prep work, and gear that most weekend warriors don’t have in the shed. I saw a neighbour’s driveway go from dull grey to jet black overnight and wondered what magic they used. Spoiler alert: it’s not witchcraft — it’s pro-grade driveway sealer. And no, not the stuff you find at the back of the hardware store covered in cobwebs. We’re talking proper sealing products used by professionals who deal with Aussie weather, stubborn stains, and every kind of surface from crumbling concrete to sun-baked asphalt.
Let’s get into what we use, why we use it, and how it stacks up against the DIY gear.
It’s Cheaper Than Replacing One
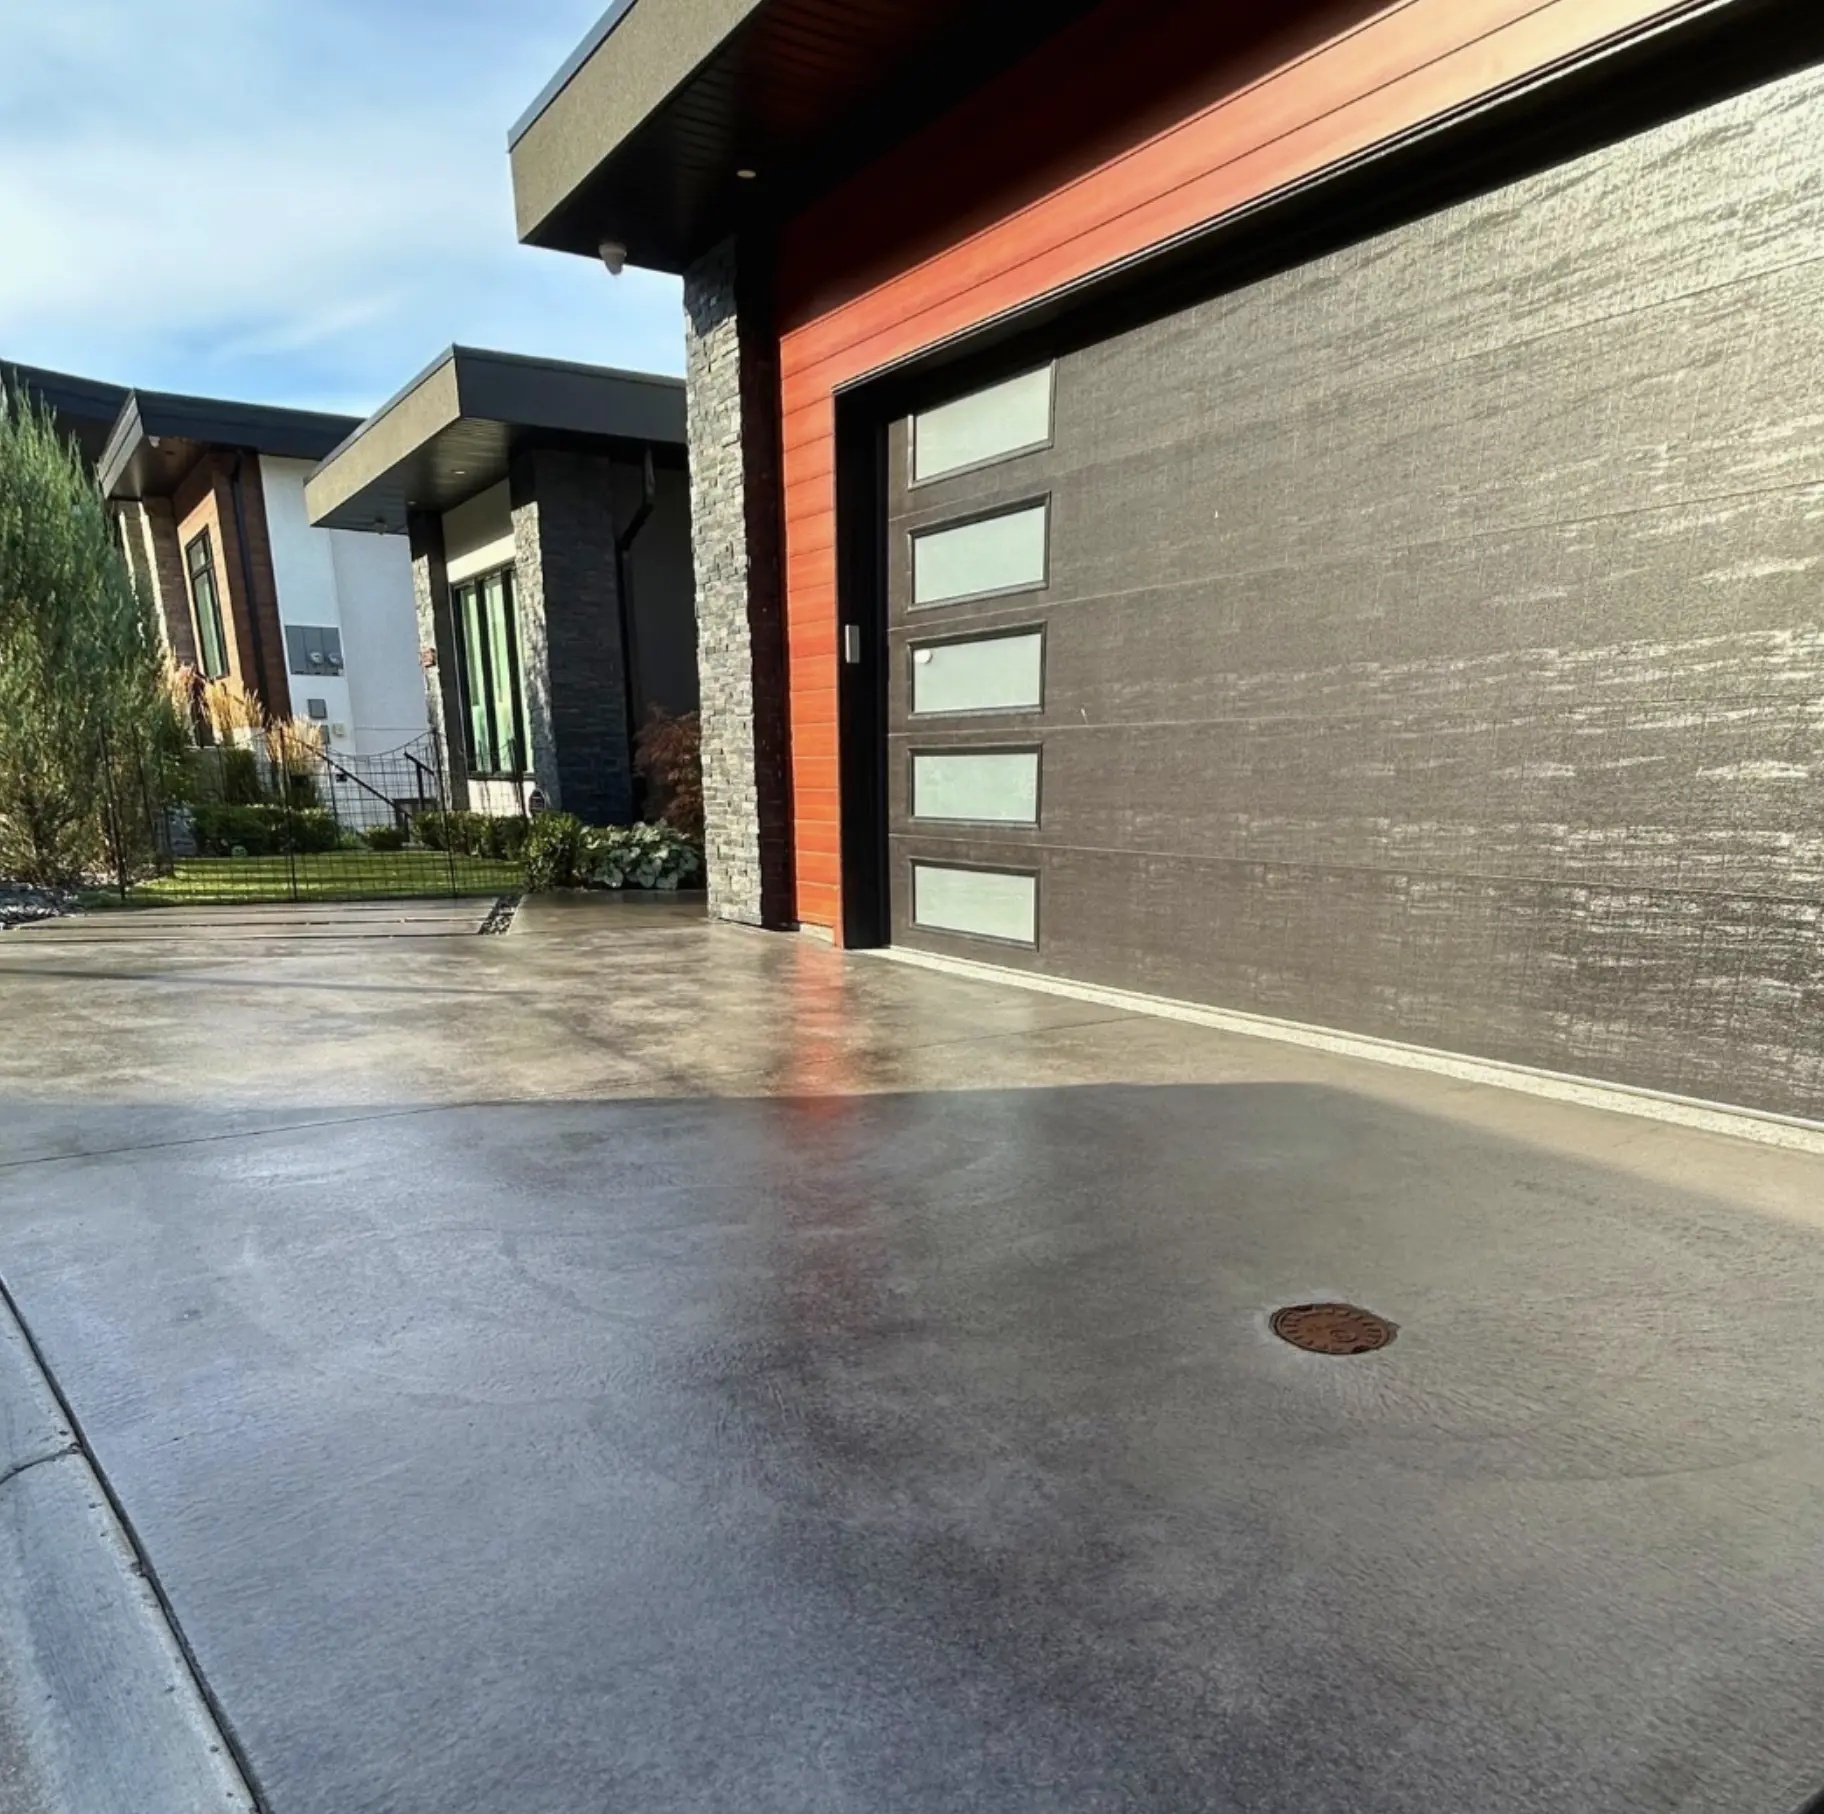
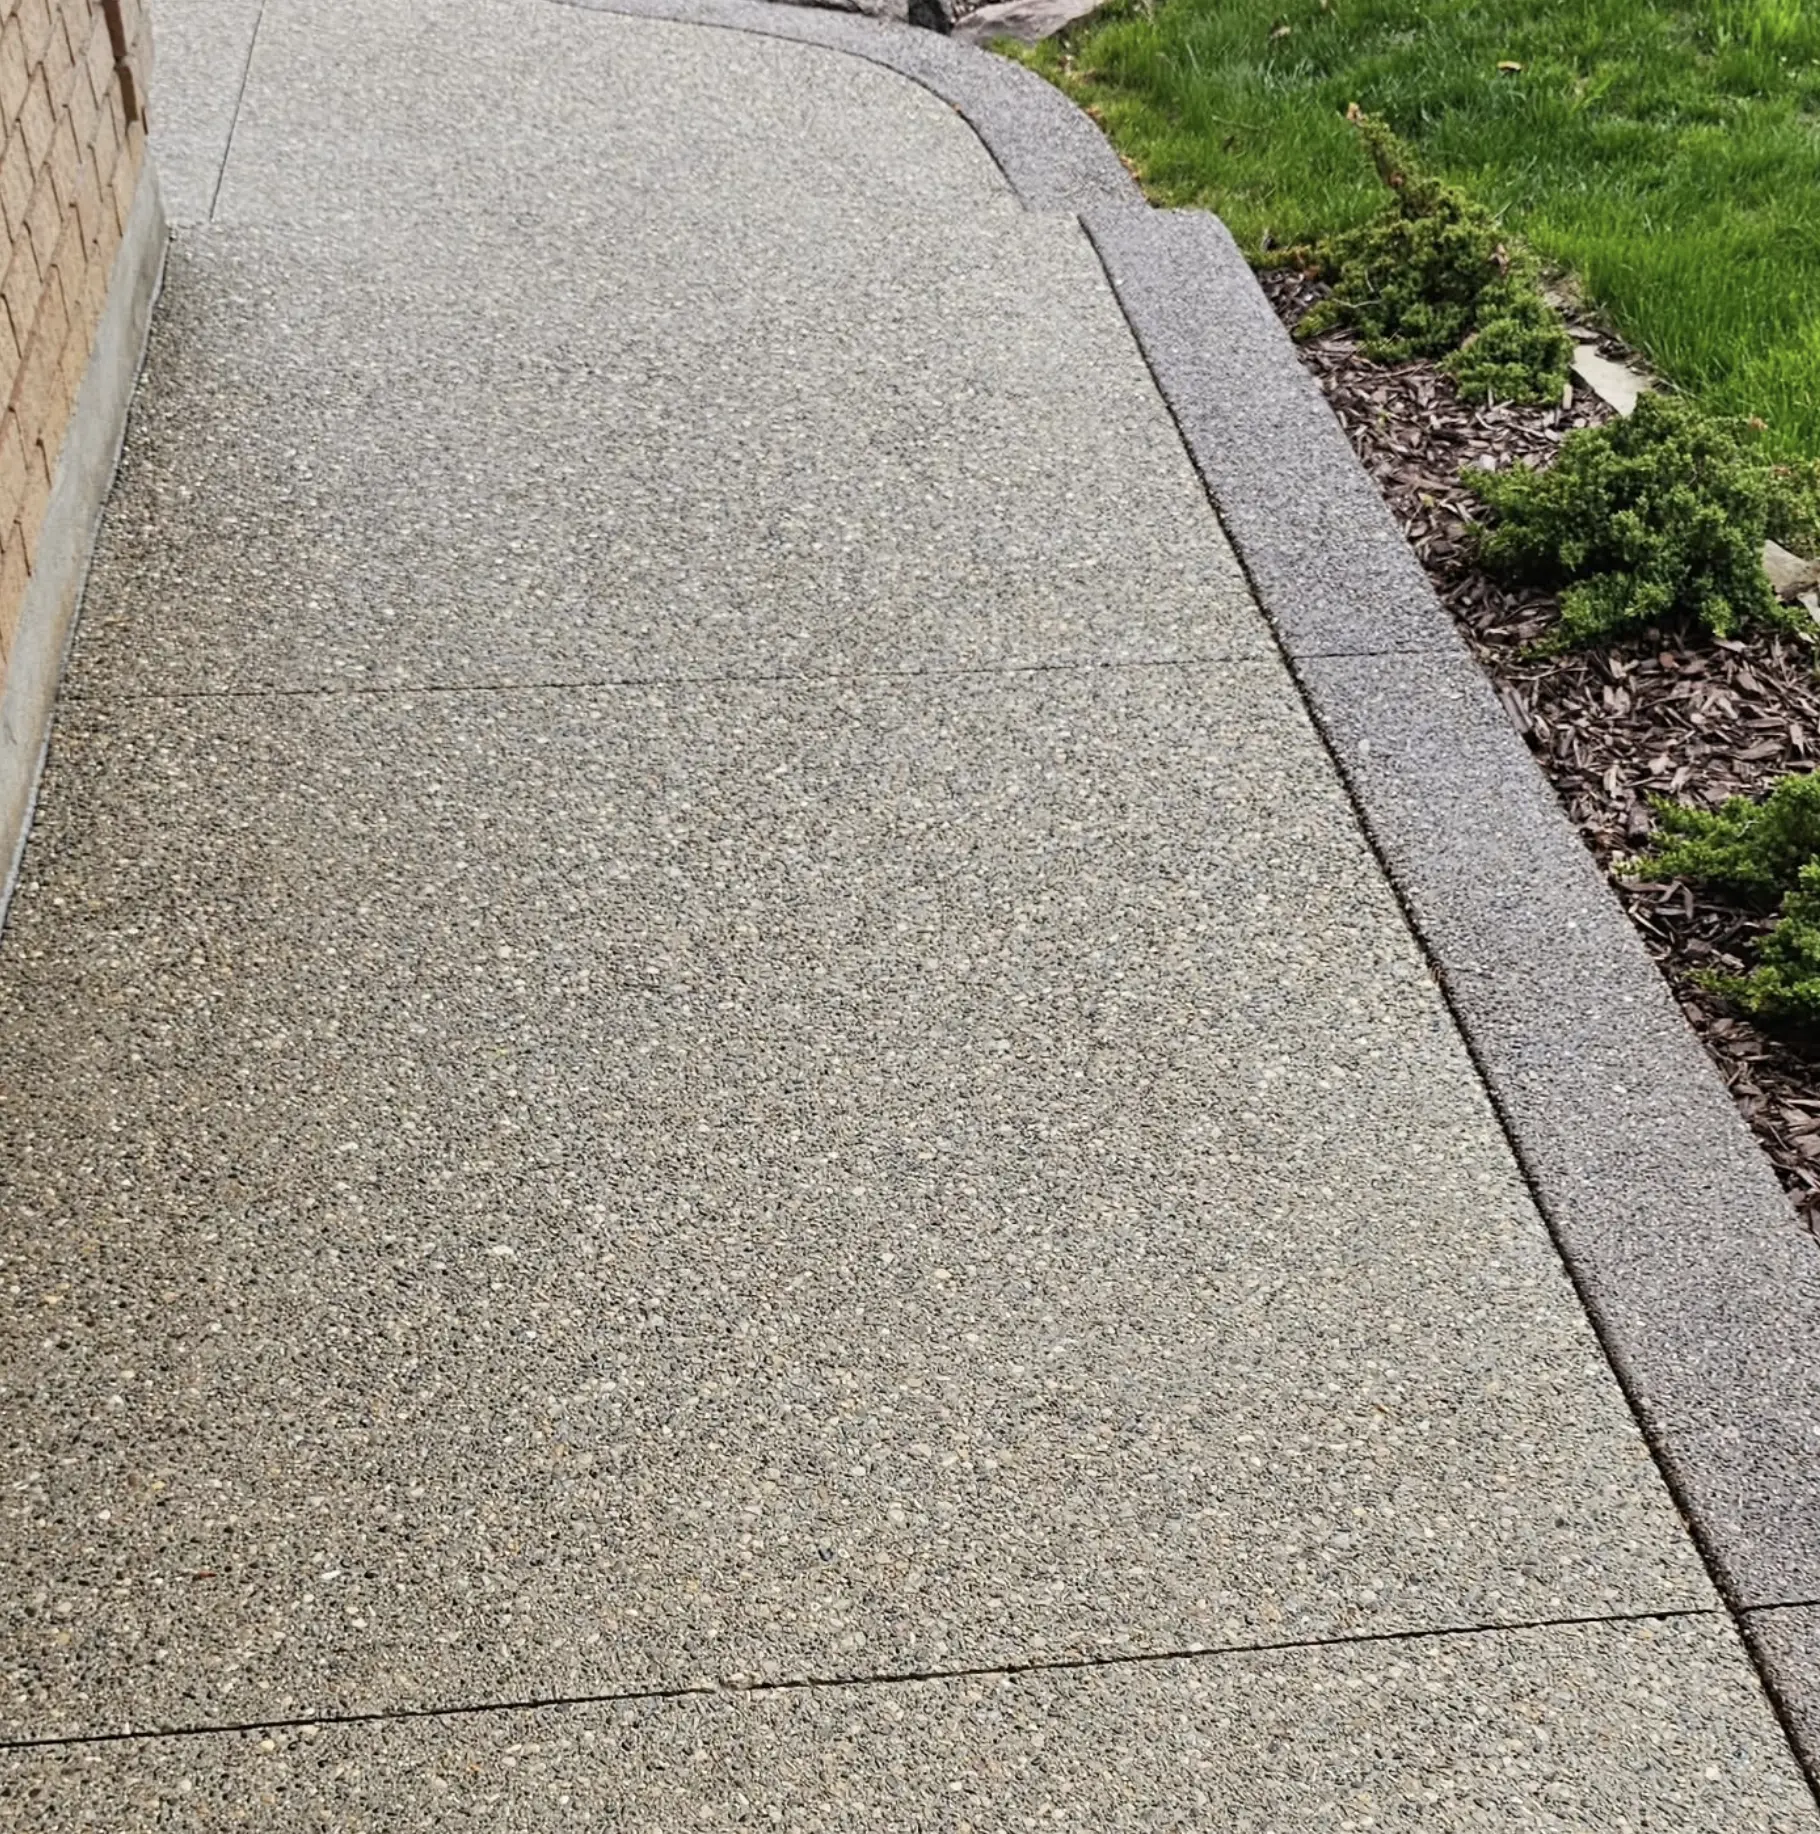
We’ll start with the basics. Sealing a concrete driveway or asphalt surface isn’t about showing off a glossy finish (although that can be a nice bonus). It’s about long lasting protection. UV protection, water resistance, stain control — sealing delivers a chemical barrier that protects your concrete surfaces and keeps your investment looking top notch.
Whether you’re dealing with bitumen or concrete driveway sealing, the sealing process adds a protective layer that repels oil, moisture and the harsh Aussie sun. Without it concrete over time becomes porous, stained and structurally compromised.
We’ve seen concrete driveways crumble due to salt damage in coastal areas and driveway sealers fail because of poor adhesion. A sealed surface creates a protective film that extends the life of your driveway — saving on future repair and material costs.
Just like how the Window Cleaning Melbourne Crew handles glass with expert care, your driveway deserves the same level of professional attention.
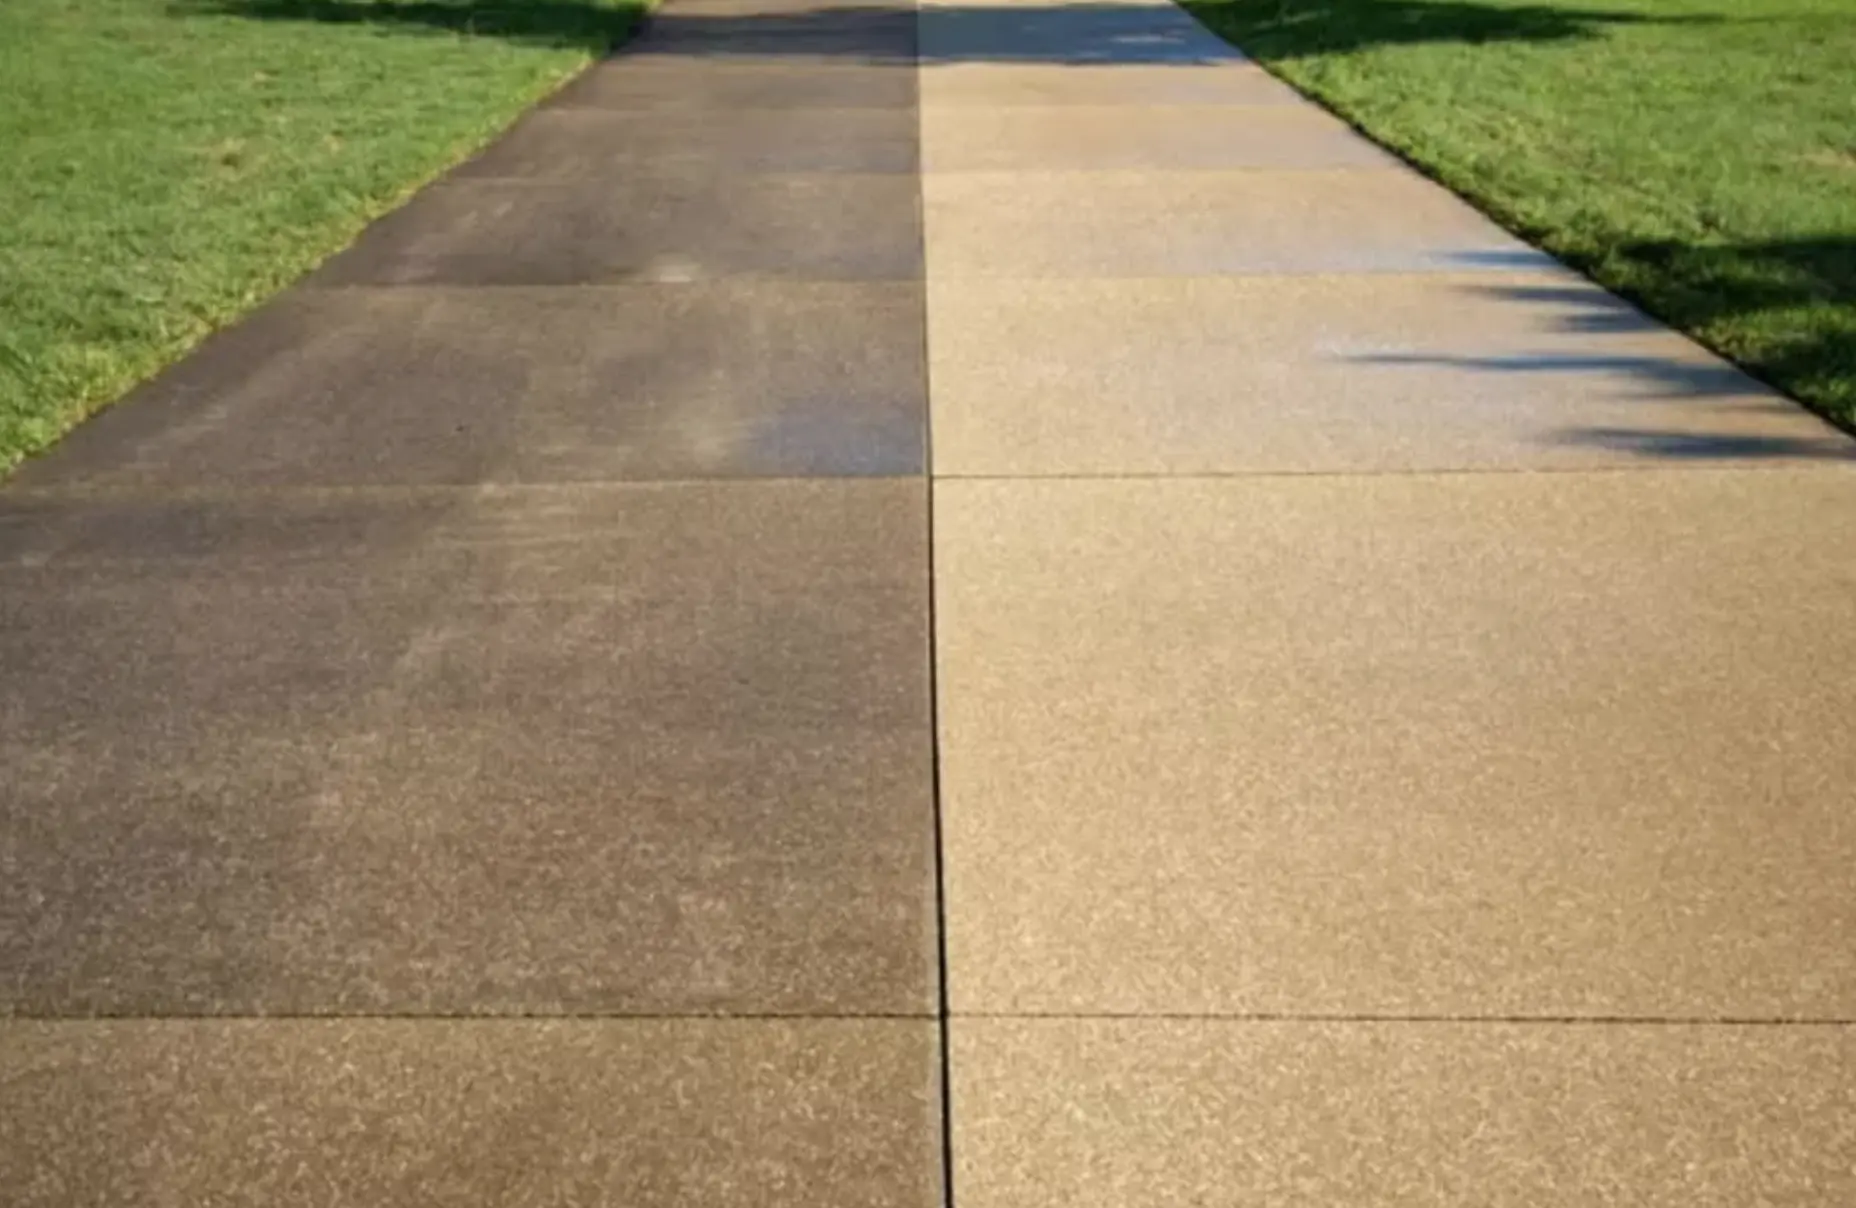
Faded, Flaky, or Filthy?
Not sure if it’s time to reseal? Keep an eye out for:
- Faded colour and dull finish (especially common with asphalt driveways)
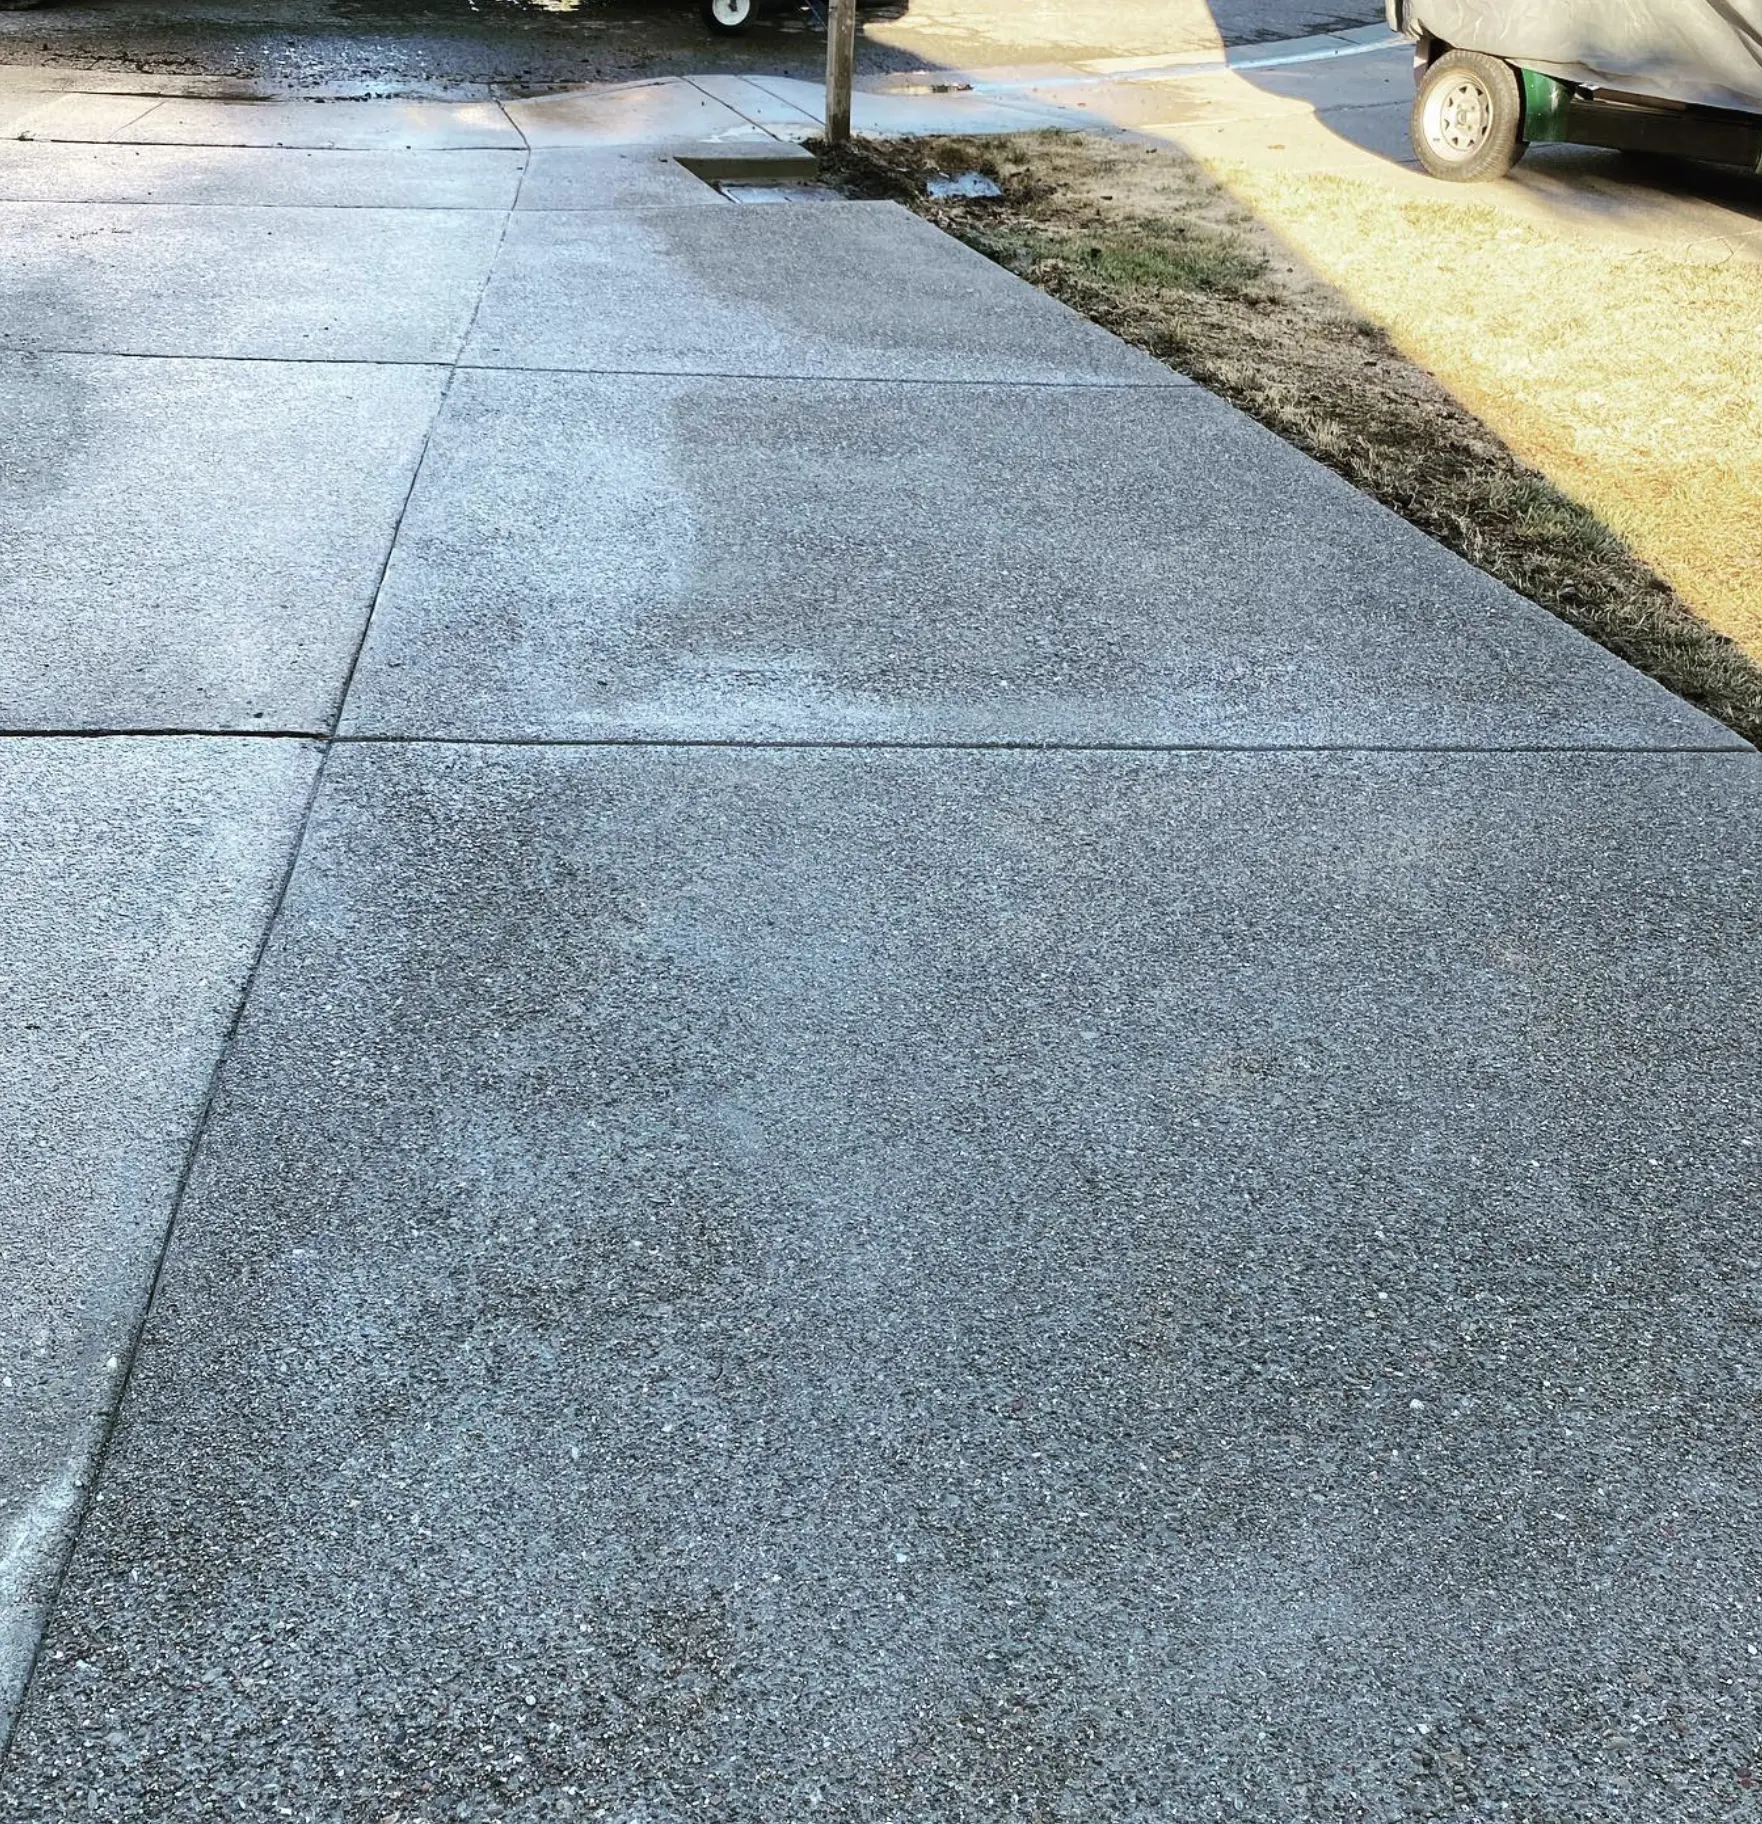
- Water soaking straight in (no beading on top means your sealer’s worn off)
- Visible cracks or surface flaking on your concrete driveway
- Oil stains that stick, tannin marks from trees, or salt rings
- Uneven finish or layers of sealer peeling away from the concrete substrate
Cracks and stains don’t just mess with your kerb appeal — they also weaken the concrete materials. A regular sealing schedule provides excellent protection and keeps things tidy.
What Sealers Do the Pros Use?
Let’s talk about types of sealers. Professionals don’t grab just any pail of sealer from the hardware store. The type of sealer used depends on the surface, climate and finish desired.
For Concrete Driveways:
- Penetrating sealers (like silane/siloxane): Soak into the concrete for deep protection. Great for preventing water ingress, especially in wetter regions. These are often penetrating resins offering resistance to oil and water.
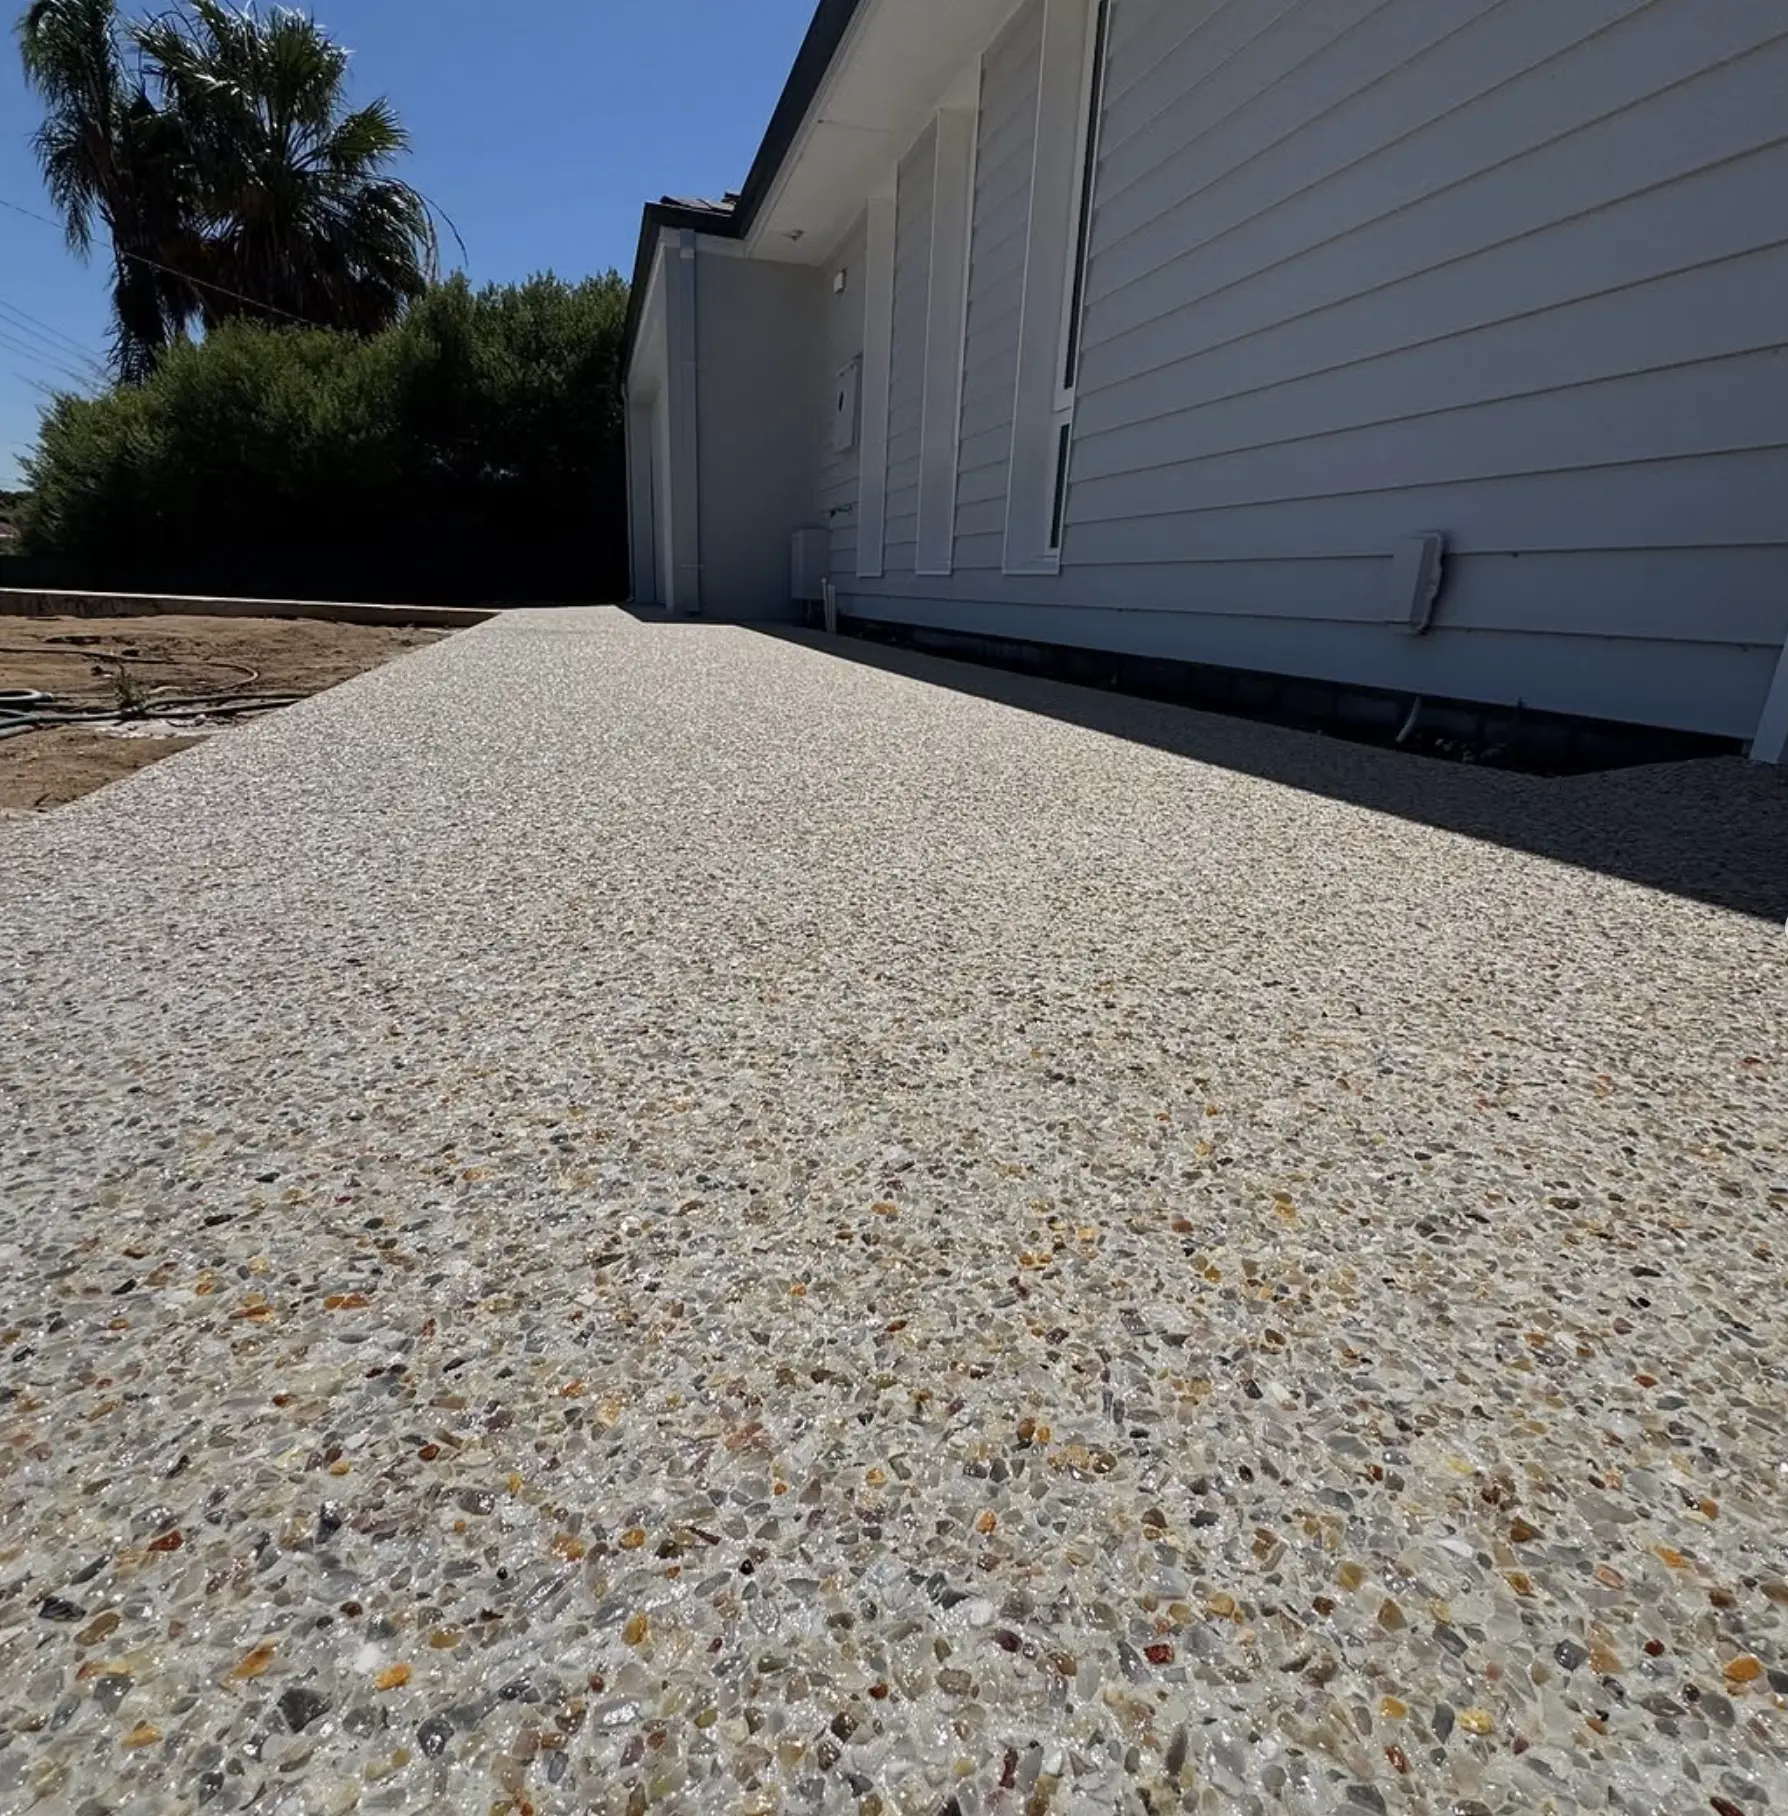
- Acrylic Sealers: Water-based acrylic sealer or solvent-based sealer. Used for colour enhancement and surface sheen. These acrylic sealants are perfect for those chasing that wet look on exposed aggregate.
- Epoxy sealers: High-gloss sealer with excellent durability. Great for high-traffic or commercial projects, though can yellow in direct sunlight.
- Polyurethane sealers: Offer better UV resistance and are less likely to yellow. Polyurethane sealant is tougher than acrylic but a bit trickier to apply.
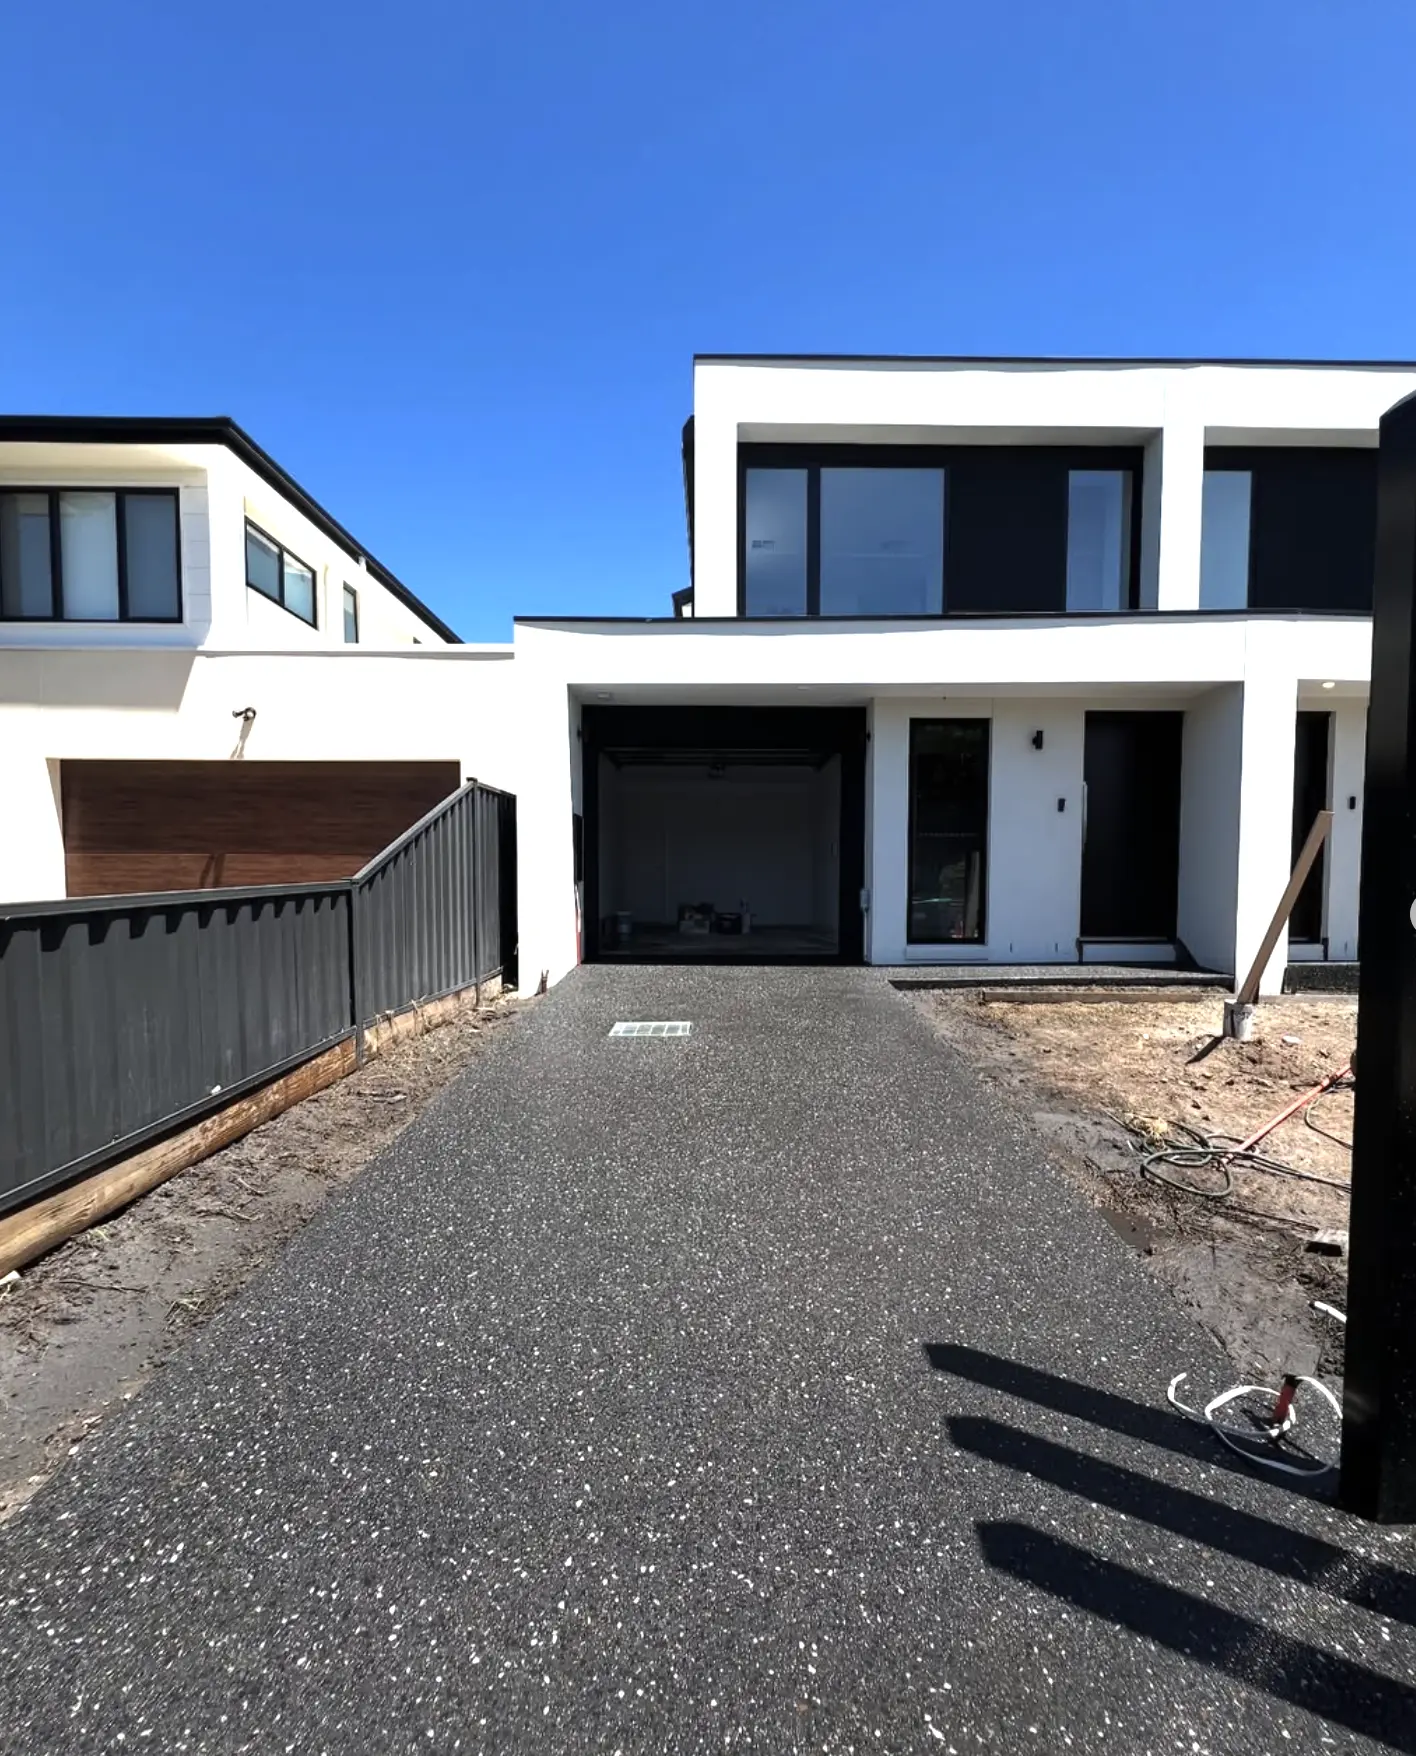
For Asphalt Driveways:
- Asphalt emulsion sealants: Provide a flexible, weather-resistant surface layer. Ideal for general residential use.
- Coal tar sealers: Still found in some areas, but we prefer more environmentally friendly alternatives like asphalt sealants with lower toxicity.
Each sealer type has pros and cons. The key consideration is the balance of sealer durability, your aesthetic preferences and maintenance requirements. A weak sealer or cheaper product might save you upfront but cost you more in reapplications of sealer and potential surface damage.
Tools and Gear the Pros Use
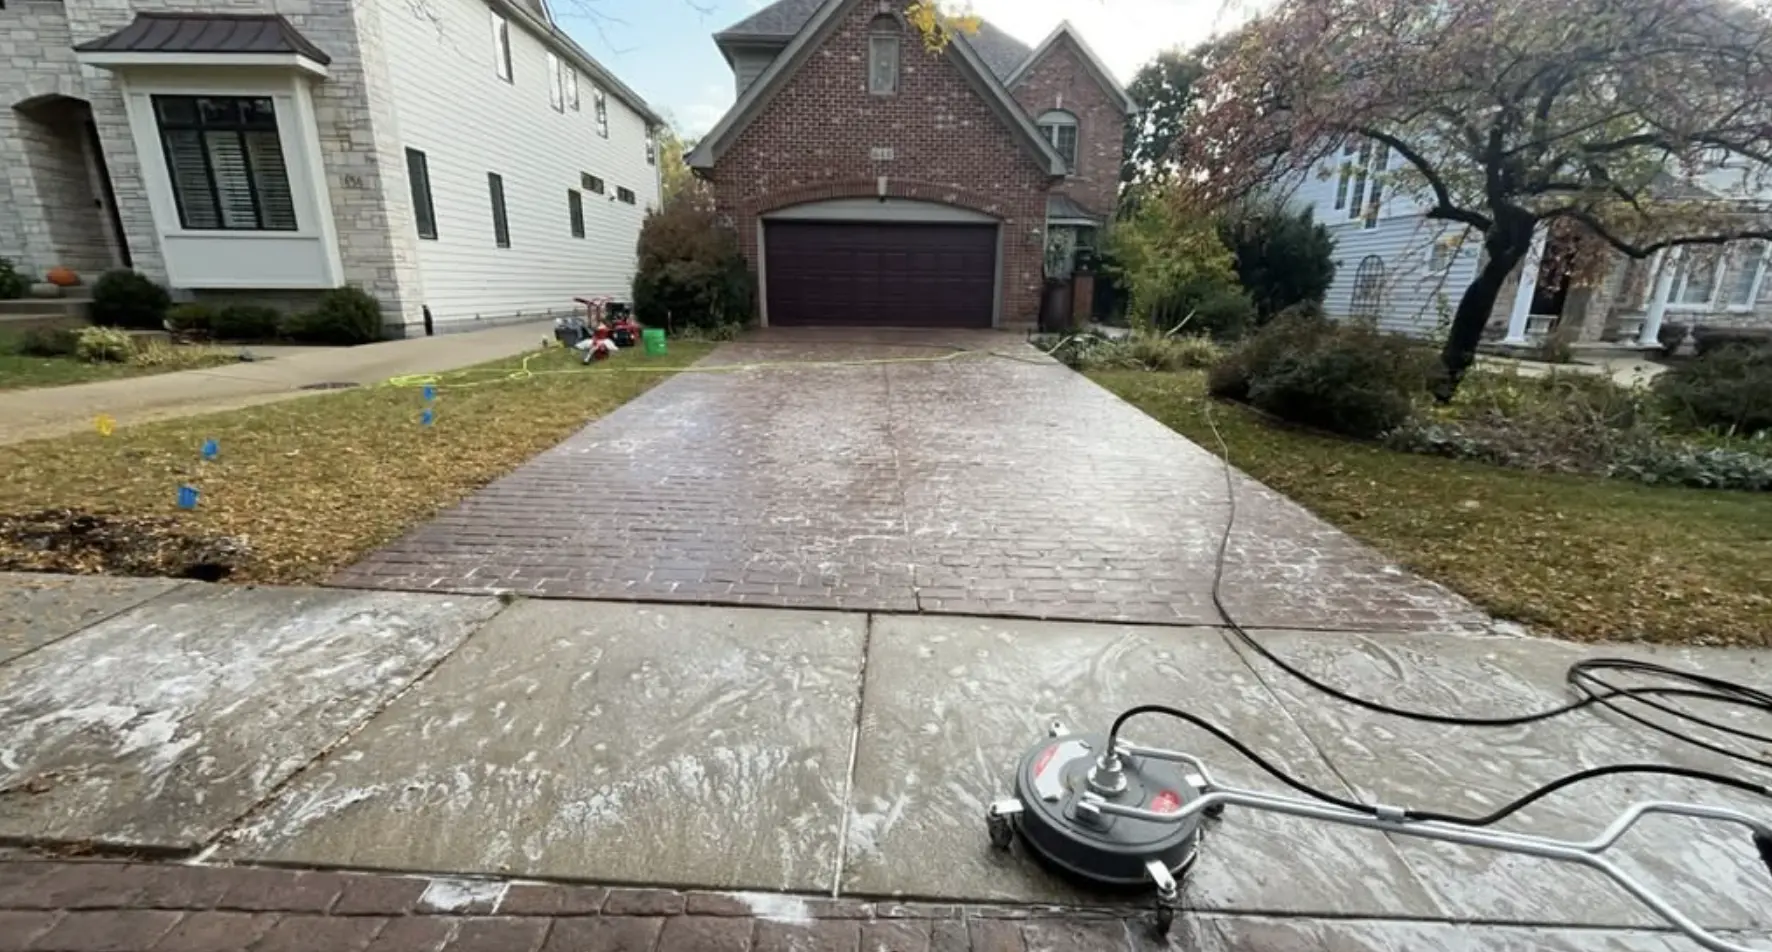
Applying driveway sealer isn’t a slap-on-and-go job. The right application methods and gear make or break the project:
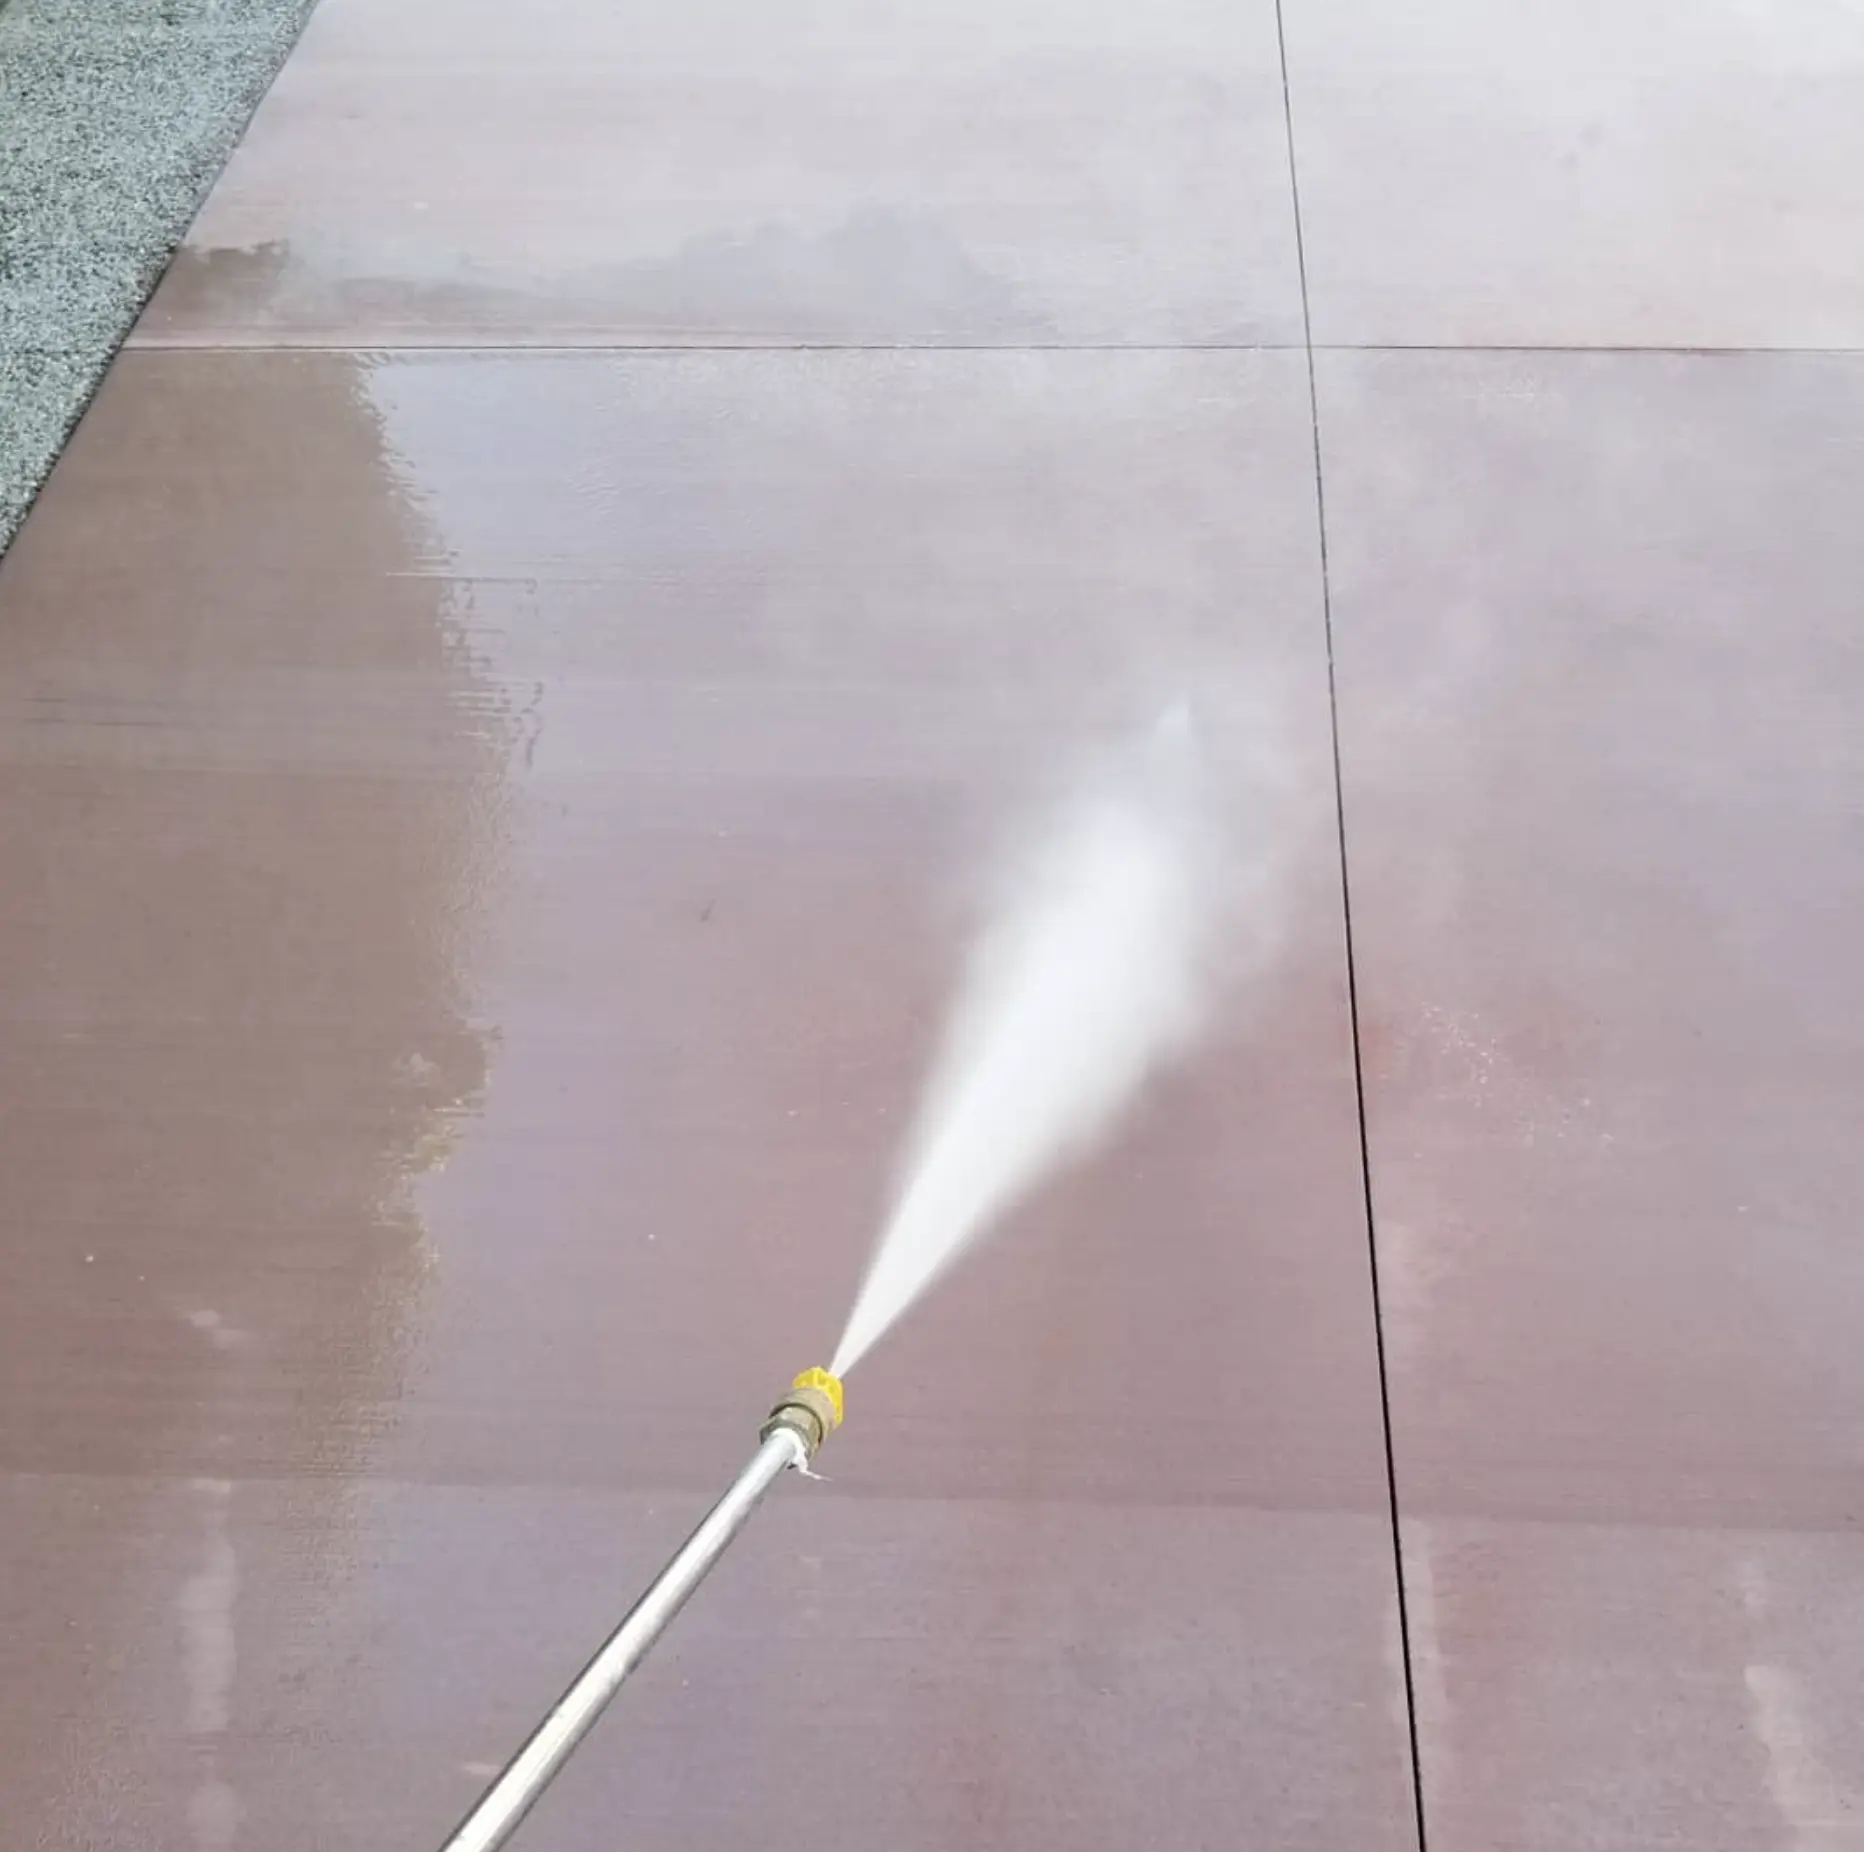
- Power washer: For proper cleaning and prep. A clean and well-prepared surface is vital.
- Sprayer method: Used for water-based sealers on larger driveways for maximum coverage.
- Squeegees and rollers: For thick topical sealers or high-viscosity products.
- Protective gear: Gloves, boots, eye protection — solvent-based sealers can be rough as guts.
Using the correct application process ensures even coats of sealer and avoids sealer failure like streaks or poor adhesion.
Do Aussie Conditions Change the Game?
Fair dinkum they do. Our weather swings harder than a demolition ball. Here’s how that changes your sealing process:
- Coastal suburbs: Salt, humidity and stormwater runoff require high-quality materials with good adhesion to concrete.
- Inland regions: You’ll want film-forming sealer with UV protection. Dry heat cooks low-grade sealers quickly.
- The wet tropics: You need quick drying time and a surface sealer that can handle flash storms.
- The cold snaps down south: Sealer must resist freeze-thaw cycles. Otherwise expect cracks wider than your ute tray.
Always check your product label for temperature and drying process recommendations. Concrete projects done right always factor in climate.
Reseal It or Regret It
Depends on your sealer type, climate, and traffic. Here’s a rough guide:
| Surface Type | Reseal Every |
|---|---|
| Concrete Driveway | 3–4 years |
| Asphalt Driveway | 2–3 years |
| Exposed Aggregate | 2–3 years |
A concrete sealer project also depends on usage. High traffic or visible colour fade means it’s time for another coat of sealer.
Myths We Love to Wash Away
Myth 1: One coat is enough. Nope. Layers of sealer break down over time especially under direct sunlight.
Myth 2: DIY sealers are the same. Lower cost sealers can lead to sealer failure, uneven finish and weak adhesion.
Myth 3: High gloss means better protection. Aesthetics don’t equal durability. Consider the characteristics of driveway sealers beyond shine.
We’ve seen people use leftover concrete products or light brush finish jobs that failed due to poor application of sealer.
Maintenance After Sealing
So your driveway looks new — now what?
- Don’t drive heavy vehicles during drying time. Most sealers need at least 24–48 hours.
- Water only for the first few weeks. No harsh cleaners or acidic products.
- Top up as needed. Don’t wait for complete wear off — reapplications of sealer before failure save time and hassle.
- Hose off salt or oil quickly. Especially if you want that visible colour to last.
- Check with your local concrete products supplier for maintenance recommendations for your sealer.
Trust the Product and the Process
At the end of the day concrete driveway sealing is about smart prep, access to quality materials and trusting the process. Commercial grade sealers might cost more in material costs but they offer great protection and long term value.
Whether your style is matte or glossy the right layer of sealer applied with care will protect the whole surface. Don’t fall for a cheaper product that promises the world — concrete products vary and require proper cleaning, application and drying process.
FAQ
What is the best sealer for concrete driveways?
Penetrating sealers and water-based acrylic sealers are great and suitable for most Aussie conditions.
How long before I can drive on a sealed driveway?
Allow for adequate drying time — 24-48 hours depending on temperature and humidity.
Can a film-forming sealer make my driveway slippery?
Yes especially on smooth concrete or if the gloss level is high. Add a grit agent if needed.
Is concrete sealing worth it for larger driveways?
Absolutely. While the cost of materials increases with square metre coverage the long term savings on repairs make it worth it.
How do I choose between solvent-based and water-based sealer?
Consider your climate, drying time and personal preference. Solvent based gives a higher gloss, water based is easier to clean up and more eco friendly.


